Printmaking for kids
Cardboard Relief Printing Method
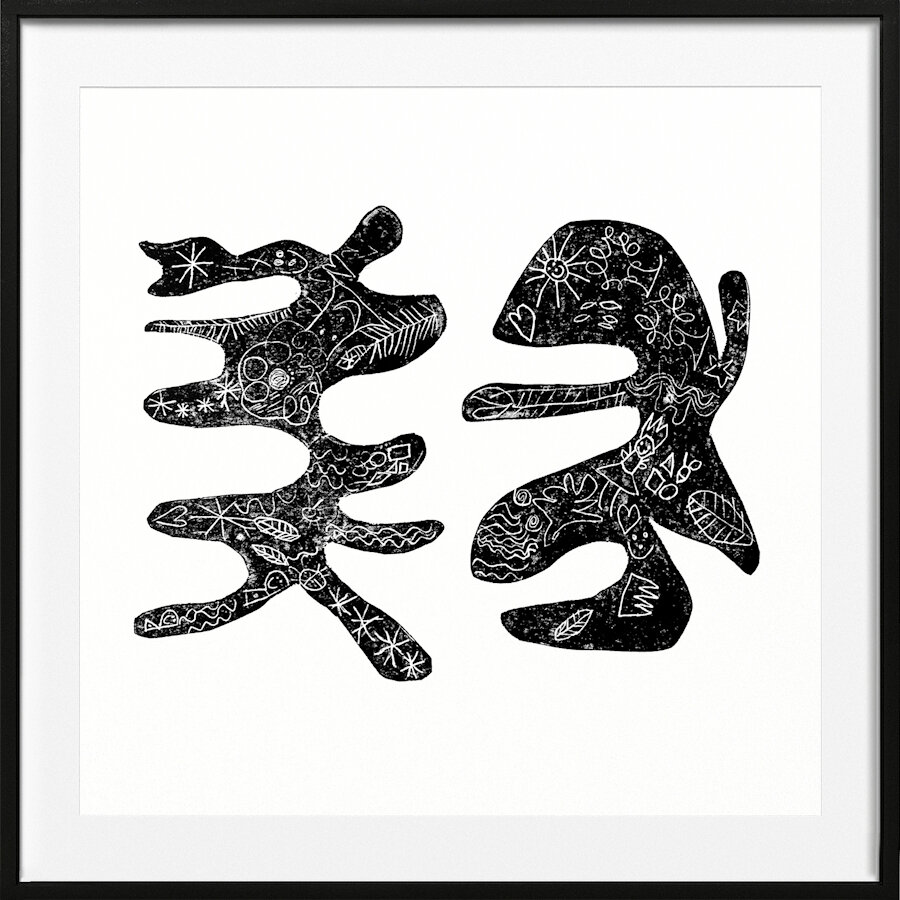
The cardboard relief printing method is suitable for practically all ages. The print pictured here was made by my five-year-old, but it’s a method we’ve been using since she was two!
Materials
⫸ Cereal box or a other shiny cardboard
⫸ Ballpoint pen
⫸ Shellac / French polish and methylated spirit (optional!)
⫸ Relief printing ink
⫸ Brayer
⫸ Large piece of glass (eg. from picture frame) or plastic tray
⫸ Wooden spoon or hand-burnishing tool
⫸ Paper (standard printer paper is fine, acid-free is best for longevity)
Preparing the Printing Plate
⫸ Cut your cardboard into the shape(s) you fancy.
⫸ Draw your design onto the shiny side of the cardboard using a ballpoint pen, making sure to press hard enough that your whole drawing makes an indent.
⫸ Coat the engraved cardboard with two layers of shellac or French polish and leave to dry. This is optional but will seal the design and prevent disintegration during printing. Use methylated spirit to wash your brush.
Printing Process
⫸ Make a positioning template by drawing round your relief plate in the middle of a piece of paper that’s the same size as the paper you’re going to print onto.
⫸ Roll out your ink using a brayer onto your piece of glass or plastic tray and ink up the relief plate.
⫸ Place your inked plate into its position on the template.
⫸ Lay your paper over the inked plate, with the top edge of the paper lining up with the top edge of the template.
⫸ Apply pressure to the back of the paper in smooth circular motions using your burnishing tool or the back of a wooden spoon.
⫸ Peal the paper off and hang or lay flat to dry.
⫸ Clean your relief plate using a rag or baby wipe and water or white spirit (depending on the type of ink you’re using).
Get Involved!
If you use this method with your kids, we’d love to see a photo! Share your prints with us on Instagram by tagging @amy.hiley.art.
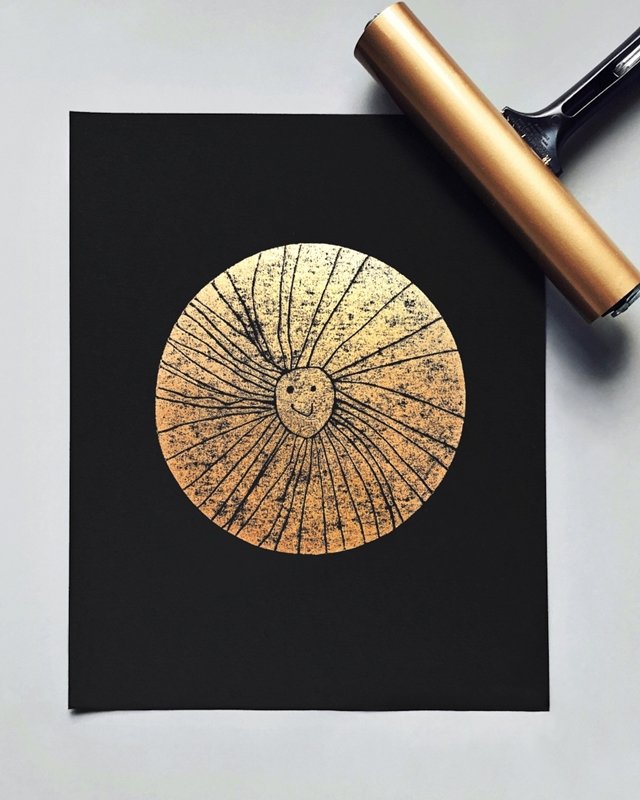
Easter Egg Printing
Our simple Easter egg design created using the cardboard relief-printing method!


